
Everything you need to know about tank bolts and storage bolts
2024-08-12
Assembly of barrel unit
(1) Place the assembled molten T steel flat on the ground as a mold,
(1) Place the assembled molten T steel flat on the ground as a mold,
lift into the first bin plate, put on bolts and nuts but do not tighten them,
paying attention to the bolt head facing outward,
which is successively bolt → flat washer → rubber washer →T steel → flat washer → spring washer → nut.
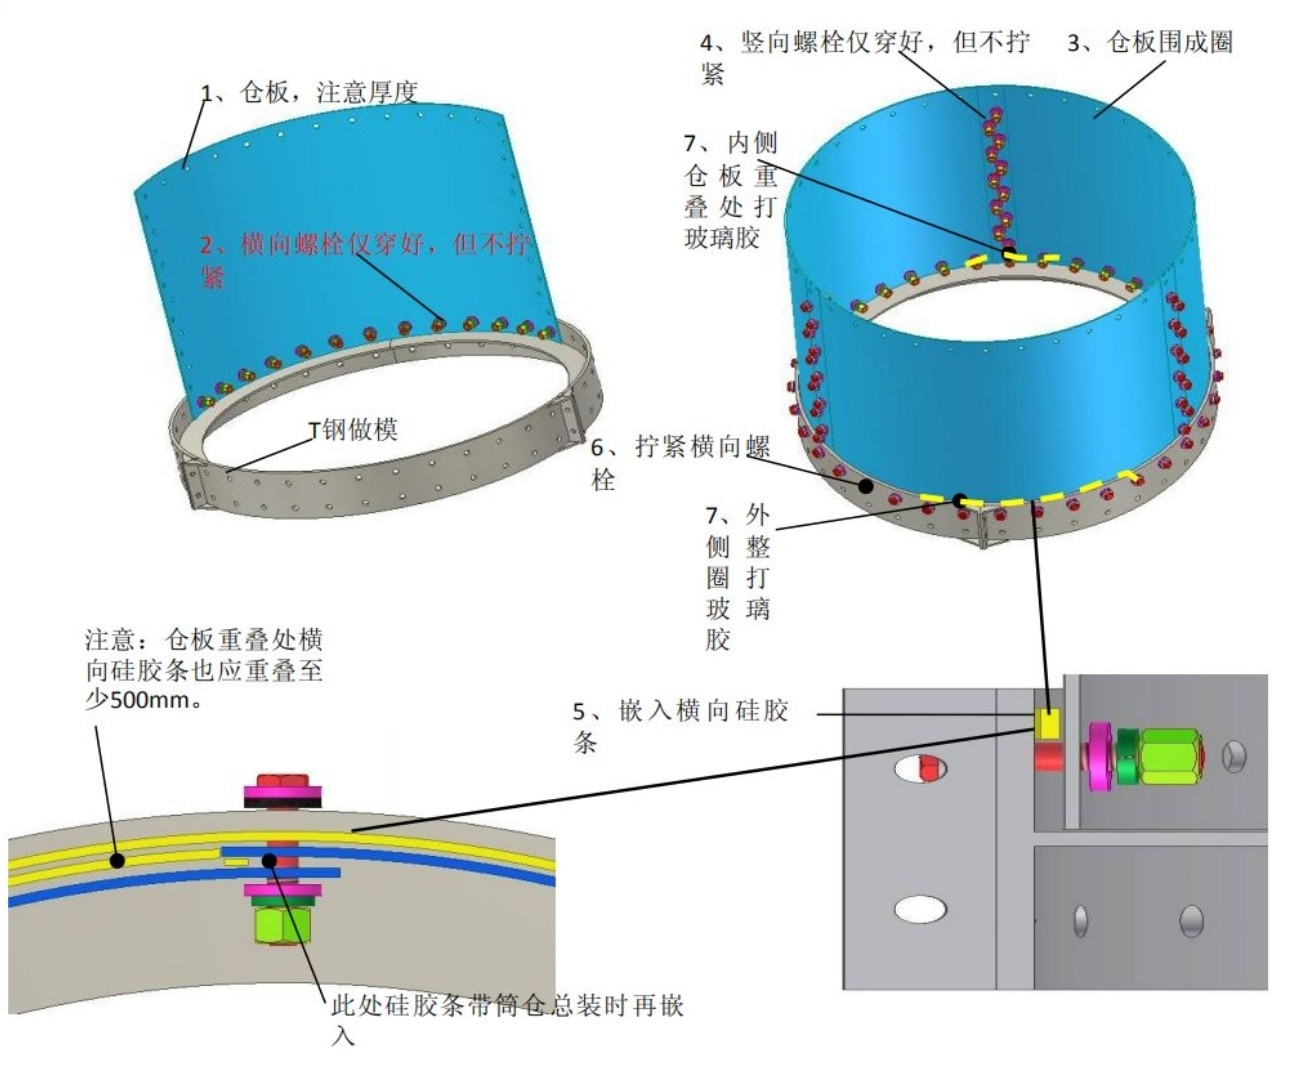
(2) Lift the second warehouse board,
put on bolts and nuts but do not tighten them.
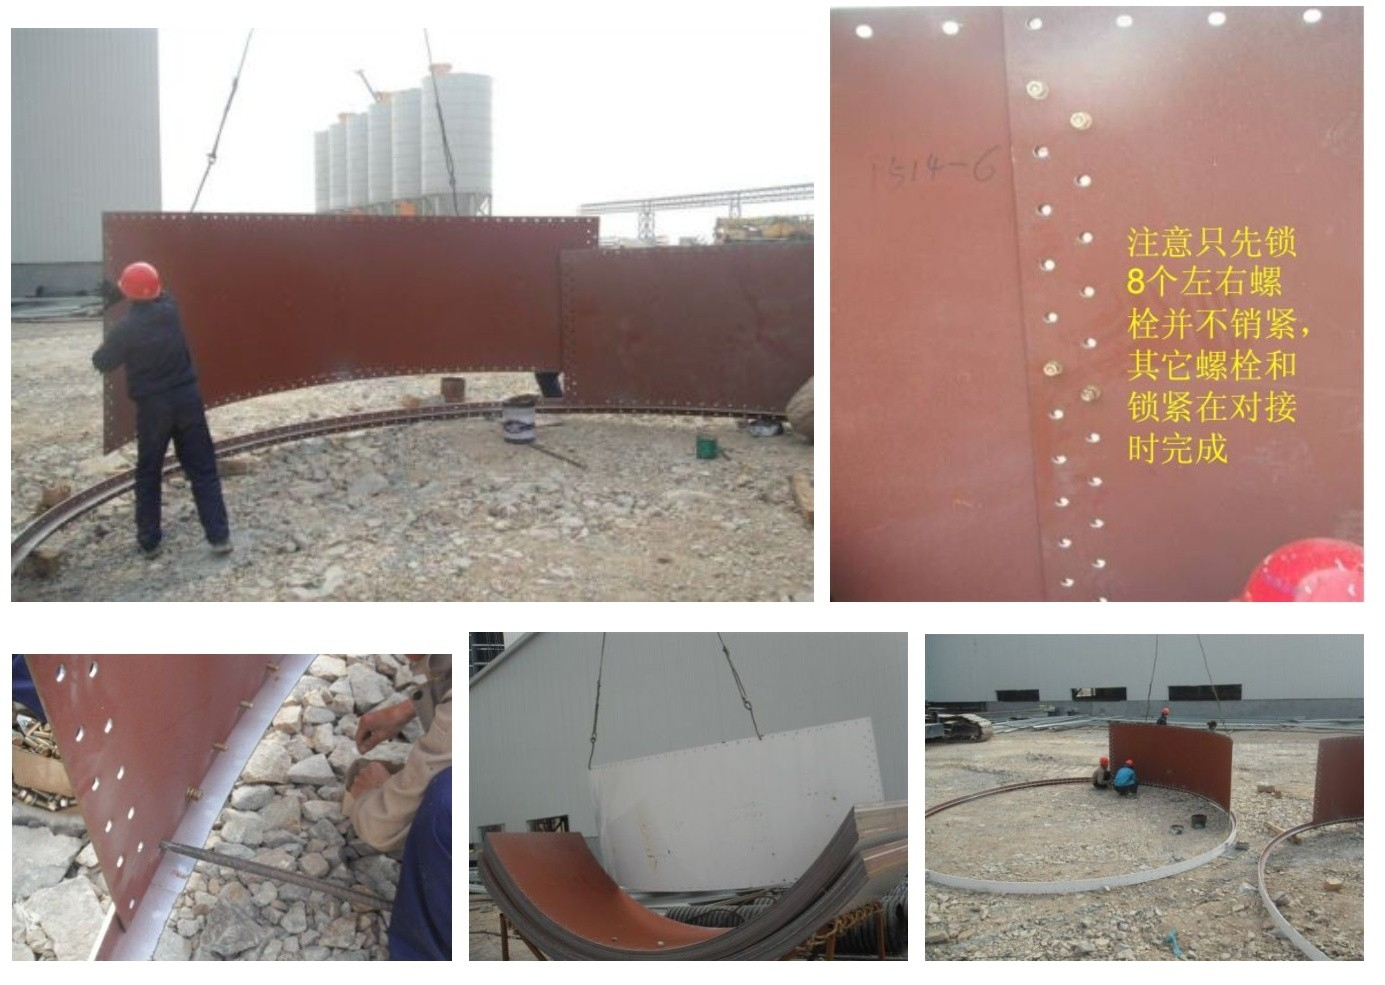
(3) Lift the rest of the silo plates in turn until the silo plates form a whole circle.
Put bolts on the vertical bolt holes of the silo plates and put on nuts but do not tighten them.
Note that the silo plates with long holes are located on the inside of the silo plates with round holes to ensure the sealing effect.
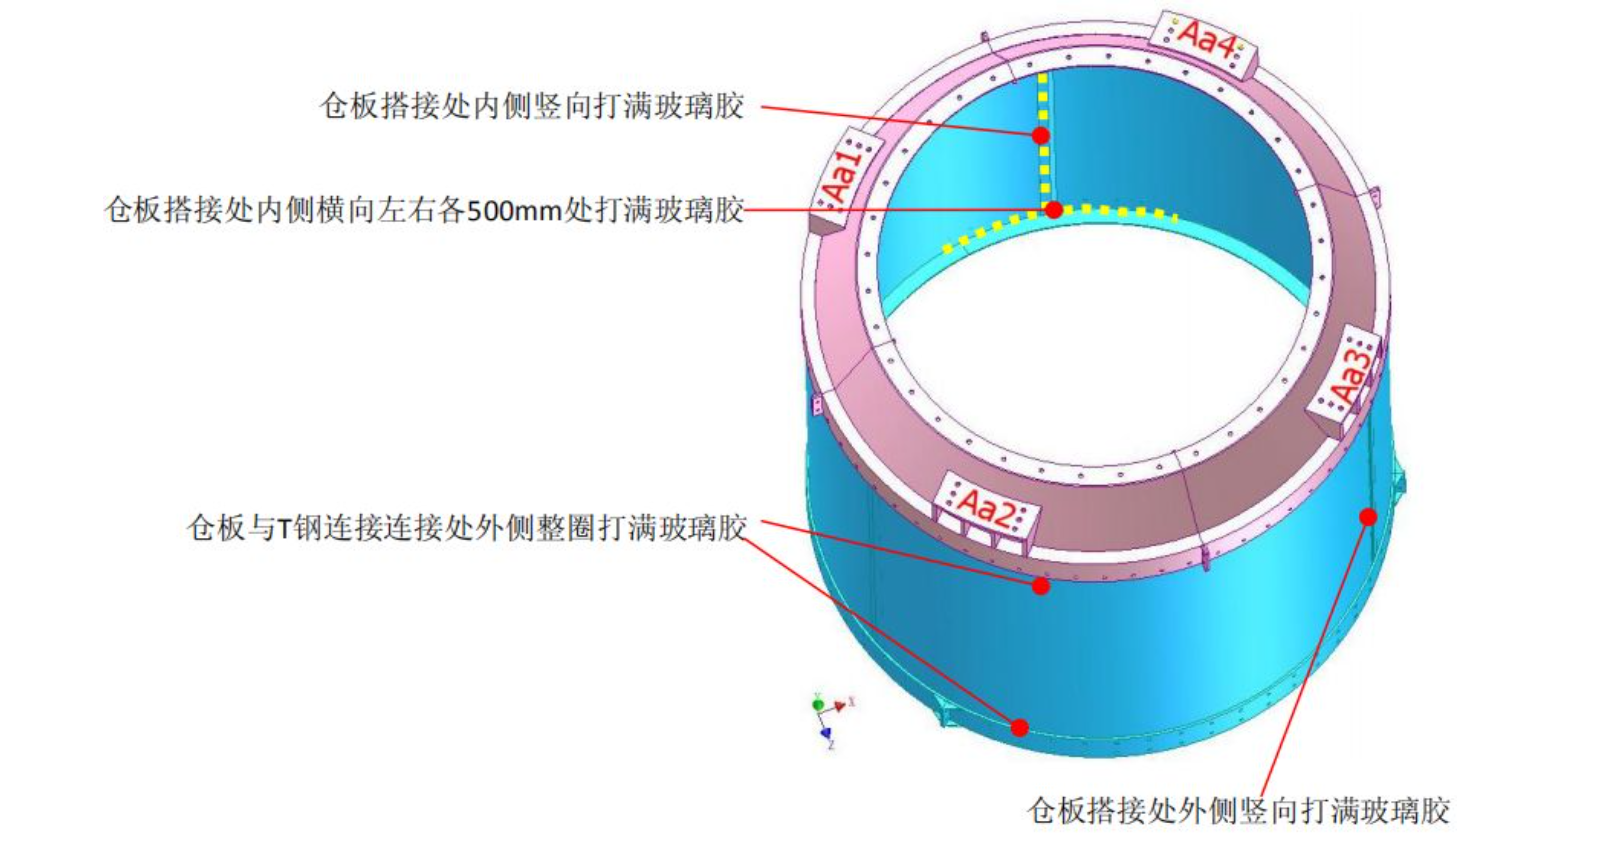
(4) Insert silicone strips between the T steel and the silo plate,
tighten the transverse bolts,
and fill with glass glue according to the position shown.
(5) All the silo plates and T steel are assembled into the barrel body unit according to the steps of 1 to 4.
If the space is limited, several sections can be assembled first, and then continue to fight after use.
(Note: When assembling, the first section of the silo board near the silo cover should be set aside according to the thickness indicated in the silo drawing.)
Barrel body final assembly
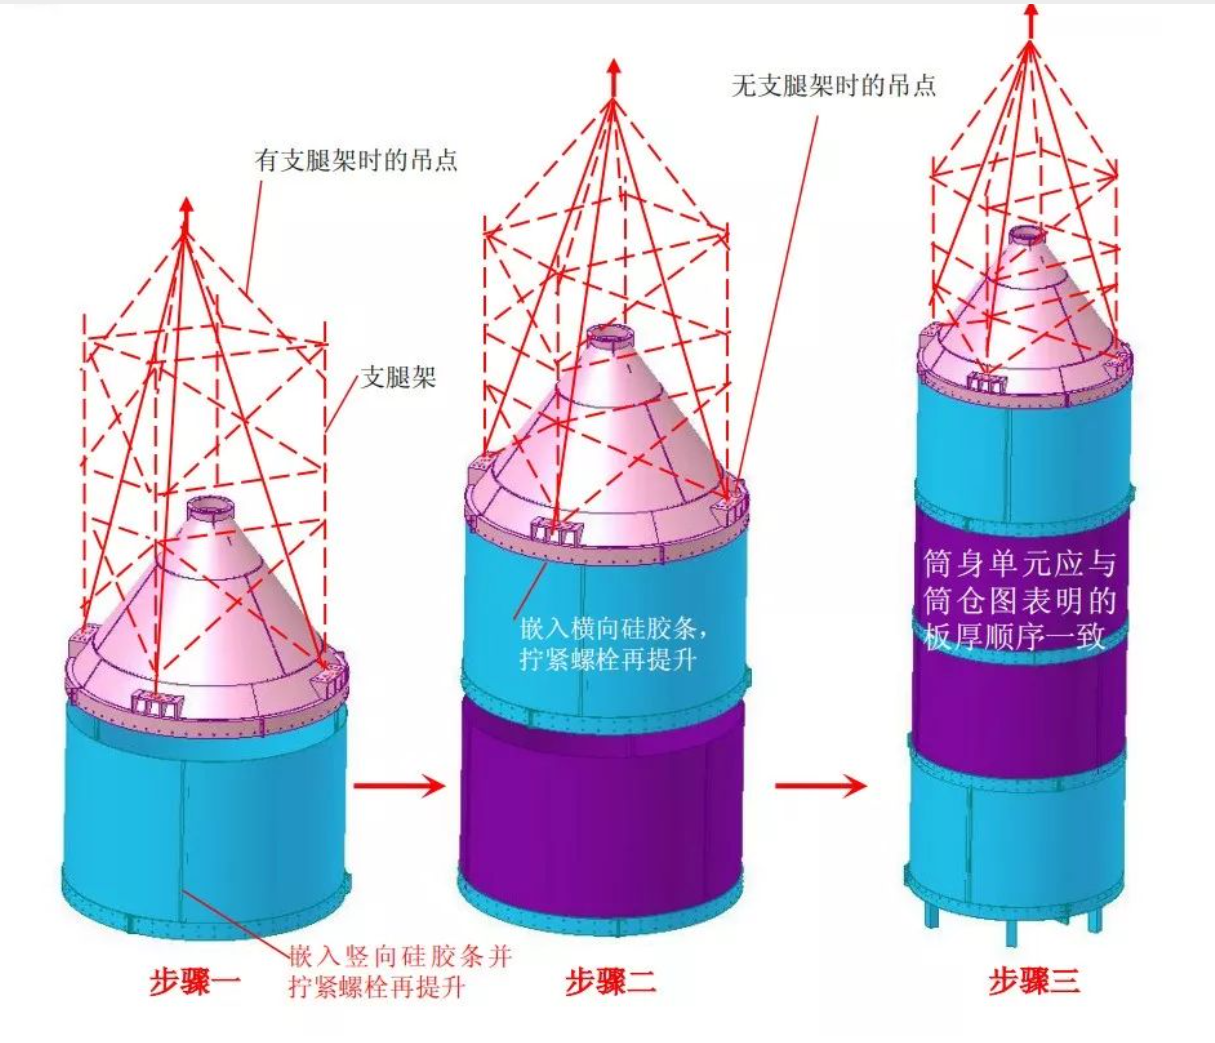
(1) Select the lifting point according to Step 1 of the figure,
(1) Select the lifting point according to Step 1 of the figure,
according to the actual situation of the leg support assembly before,
and whether the leg support and the cone have been connected.
(2) Lift the cone directly above the previously assembled barrel unit.
(3) Align the bin plate with the cone T steel to the hole position, put on the bolt but do not tighten it.
(4) Insert vertical silicone strips into the lap of the silo board,
and refer to the assembly of the barrel body unit for specific positions.
And slightly tighten the two bolts at the end to prevent the silicone strip from running out of position and embedding the horizontal silicone strip.
(5) Tighten all bolts and fill them with glass glue according to the position shown.
(6) Continue to lift the cone and connect all the barrel units in the same way.
(7) When connected with the bin cover unit, care should be taken to align with one leg.
For more details informatior
please contact us
please contact us
sales08@sinofastener.com
sales@sinofastener.com
zlfastener
The product picture is our product, the scene picture is from the social platform, if there is infringement, please contact
The product picture is our product, the scene picture is from the social platform, if there is infringement, please contact
keywords:STORAGE TANK ,Liquid Storage tank,Water storage tank,Water treatment equipment,Biogas equipment,Biogas tank ,Silo Tank ,Assemble Tank,Assemble Storage Tank,bolted tank
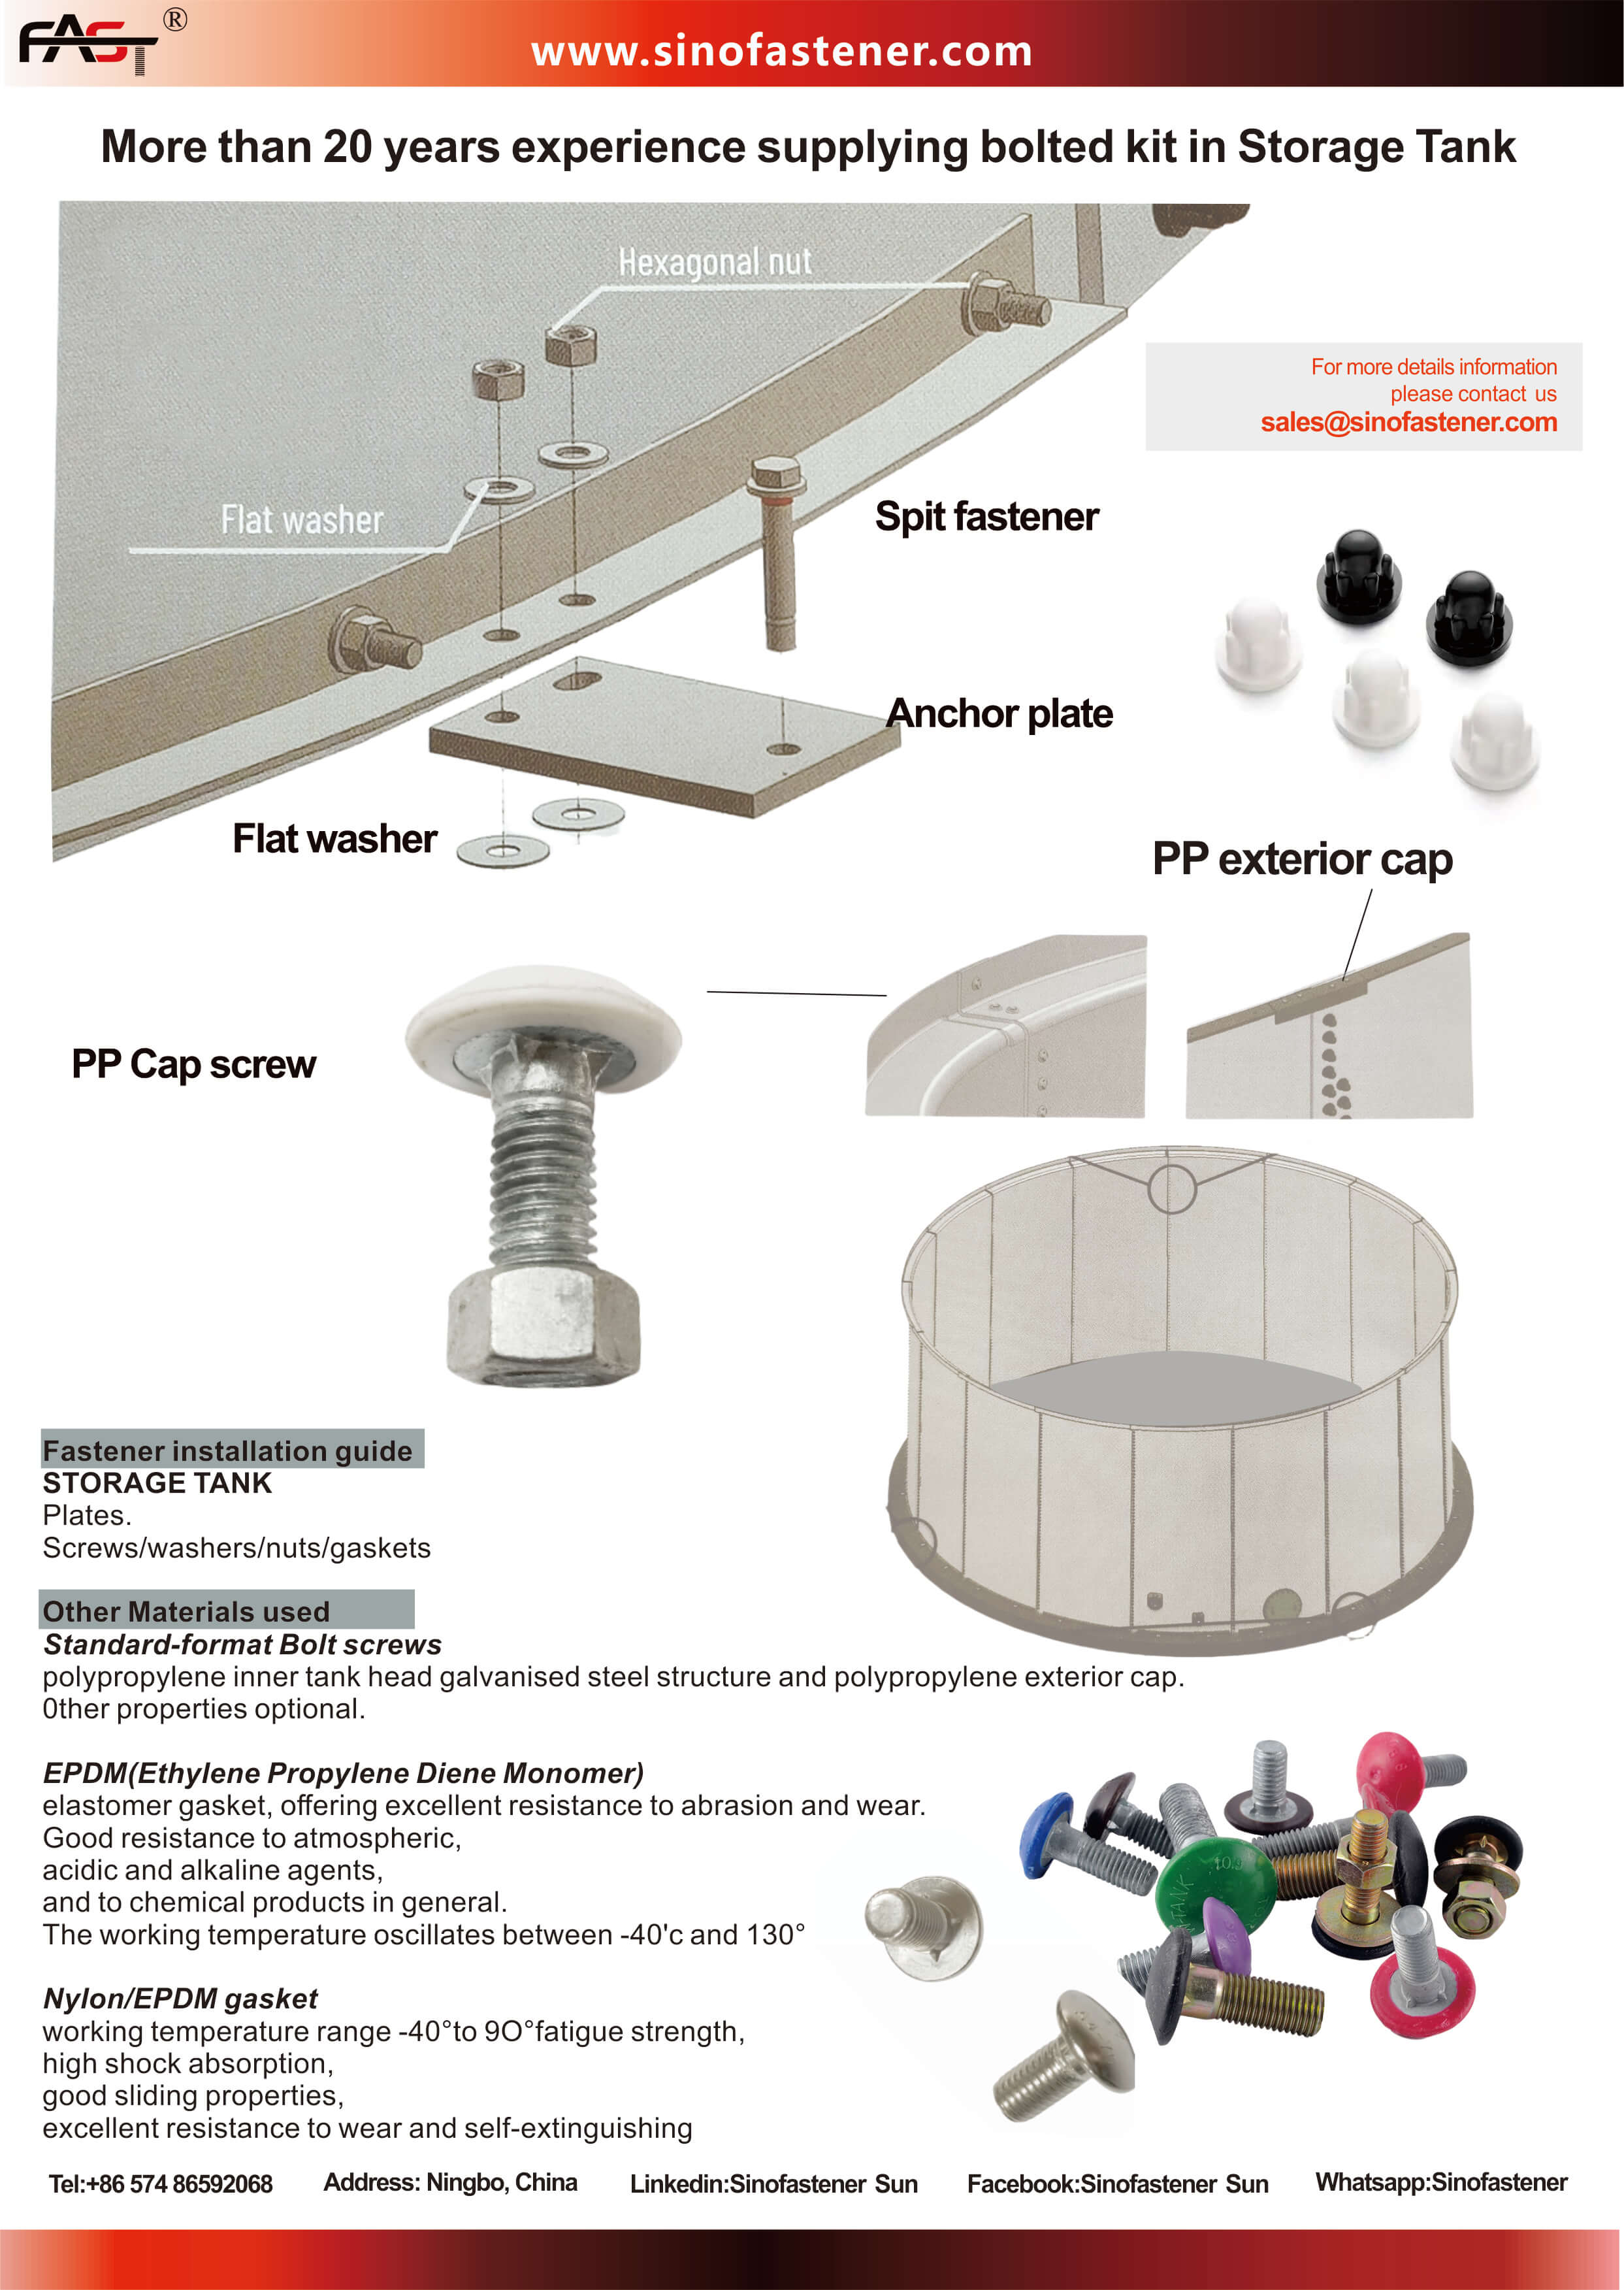
More than 20 years experience supplying bolted kit in Storage Tank
How to choose the enamel assembly
Related Article

Shanghai's 15th Five-Year Plan targets LNG carriers, deep-sea equipment, and polar ships. What this means for marine fastener demand and supply chain opportunities in 2026-2030.
Shanghai 15th Five-Year Plan for Shipbuilding: Marine Fastener Demand Outlook 2026-2030
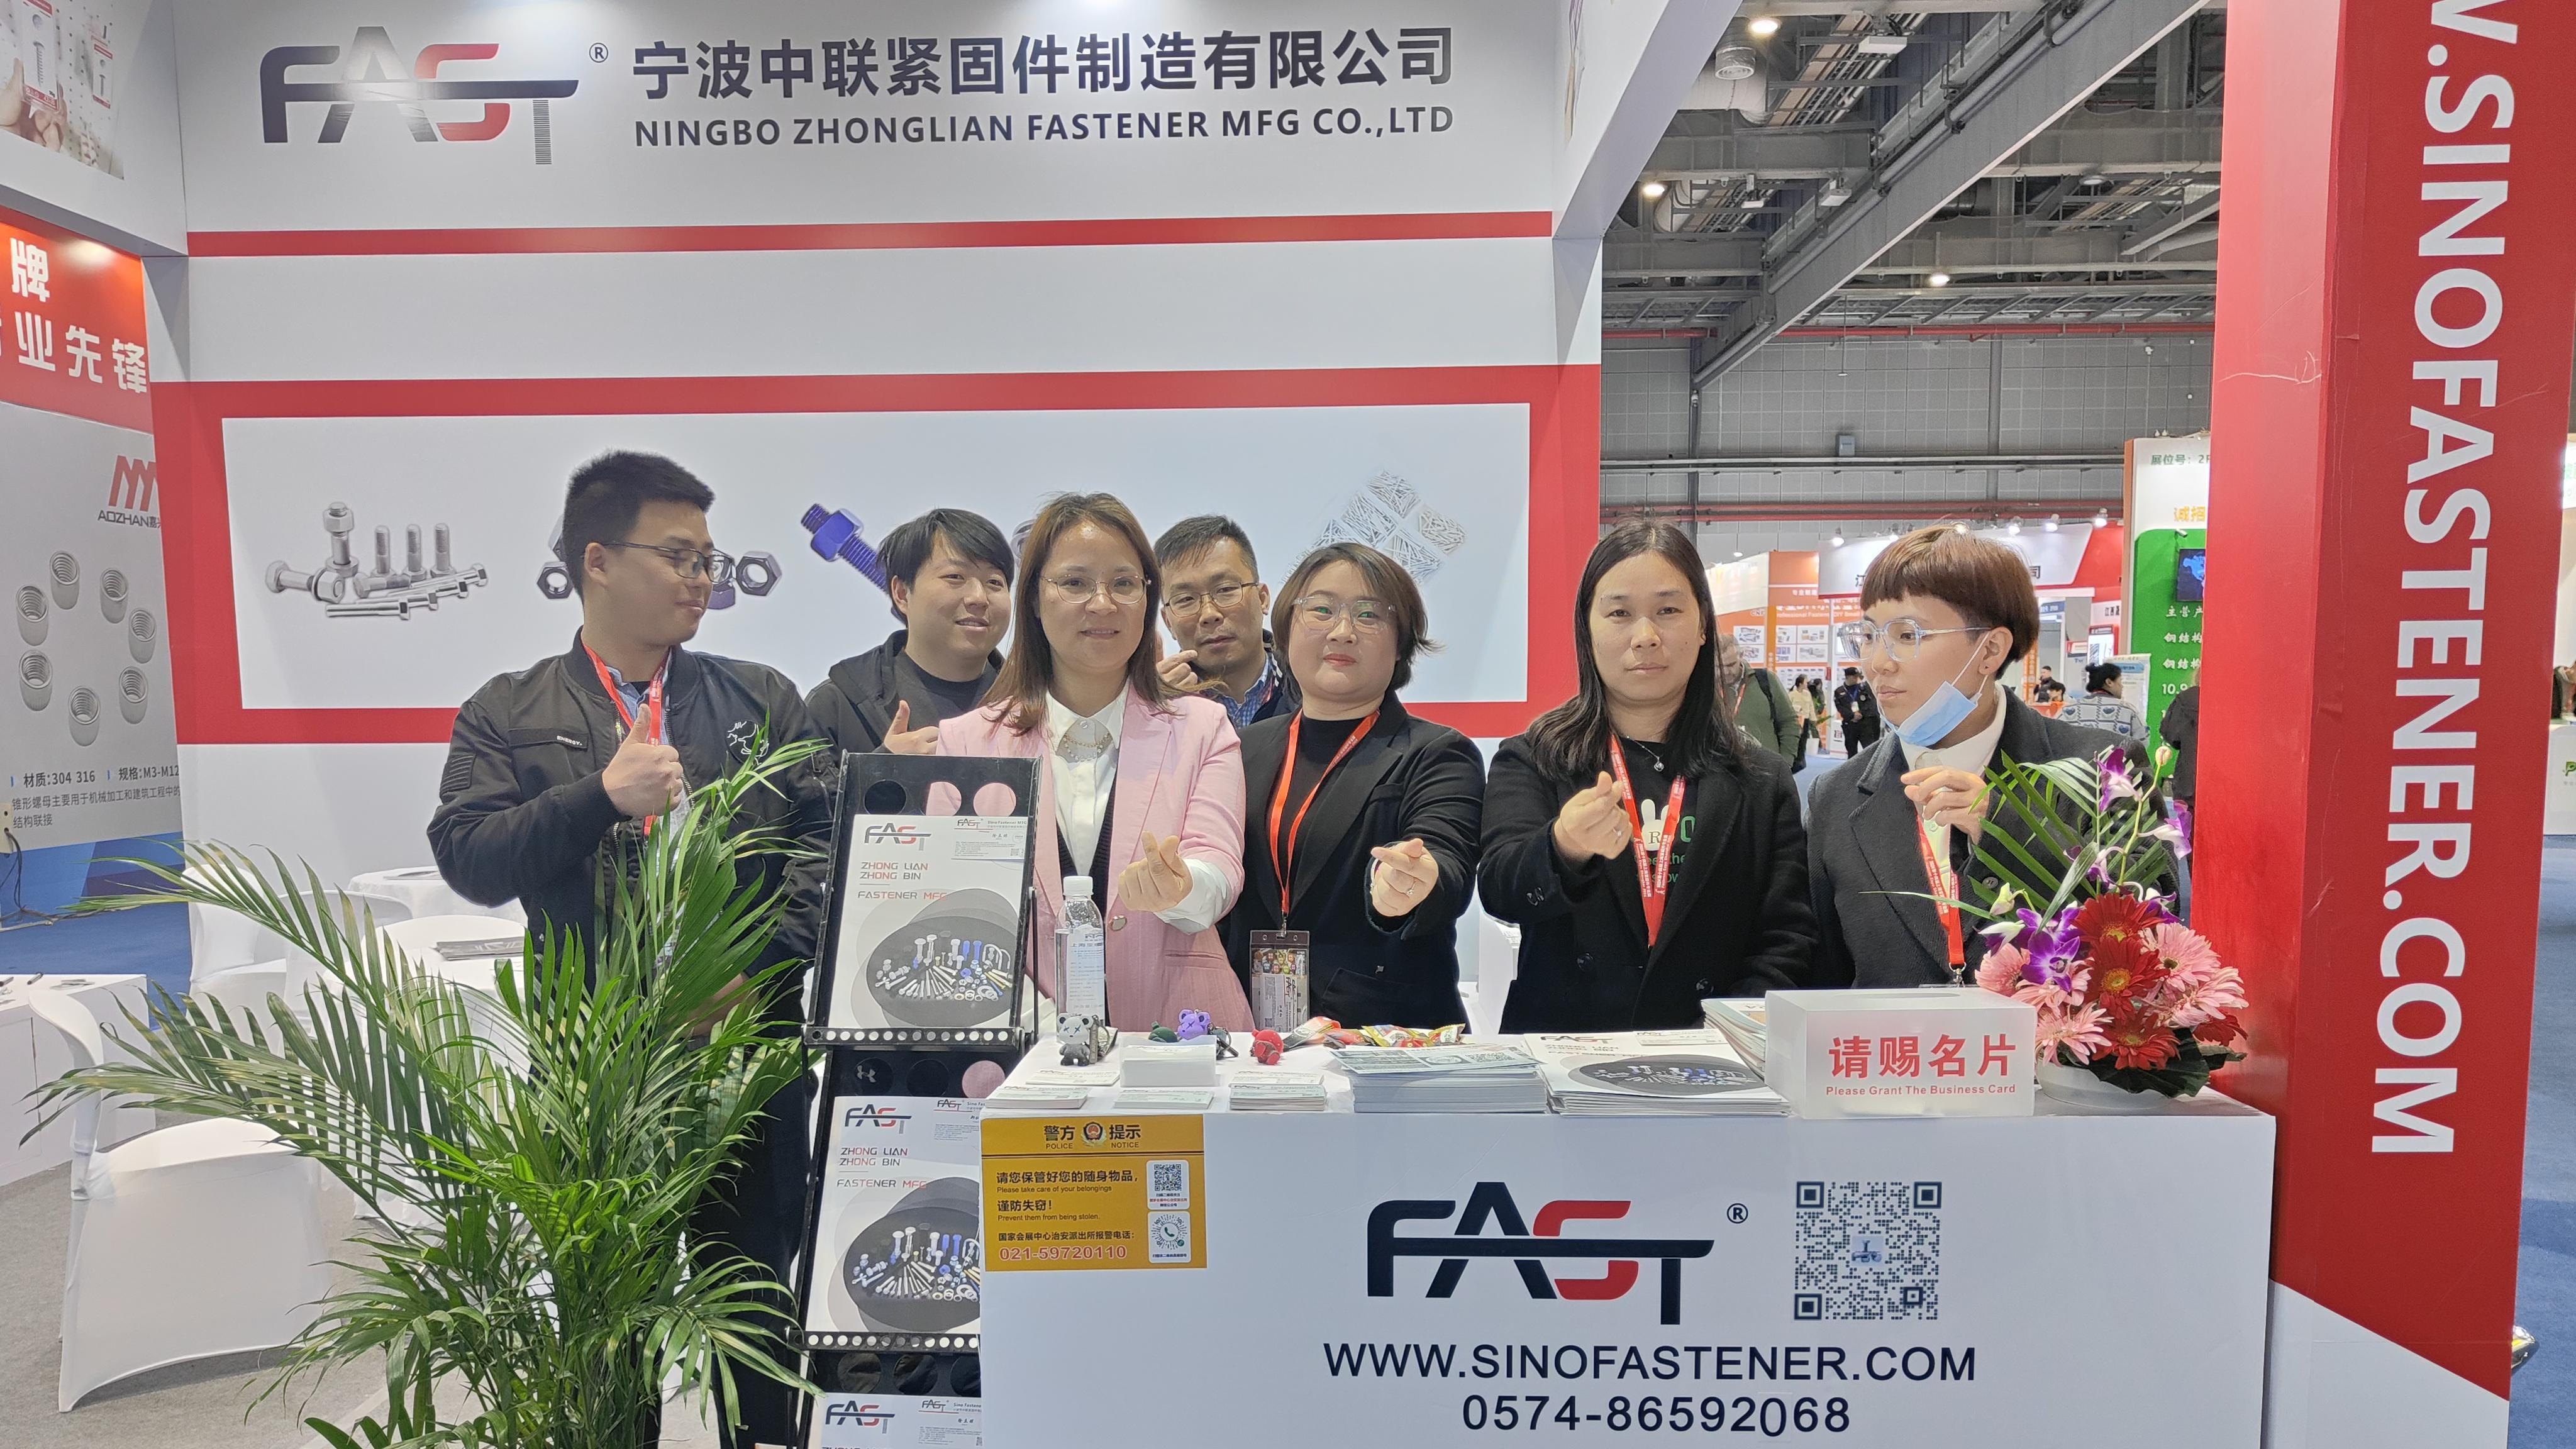
INTERNATIONAL FASTENER SHOW CHINA, FASTENER EXPO SHANGHAI, FASTENER TRADE SHOW
International Fastener Show China